Bought as a punt this one could have gone any way!
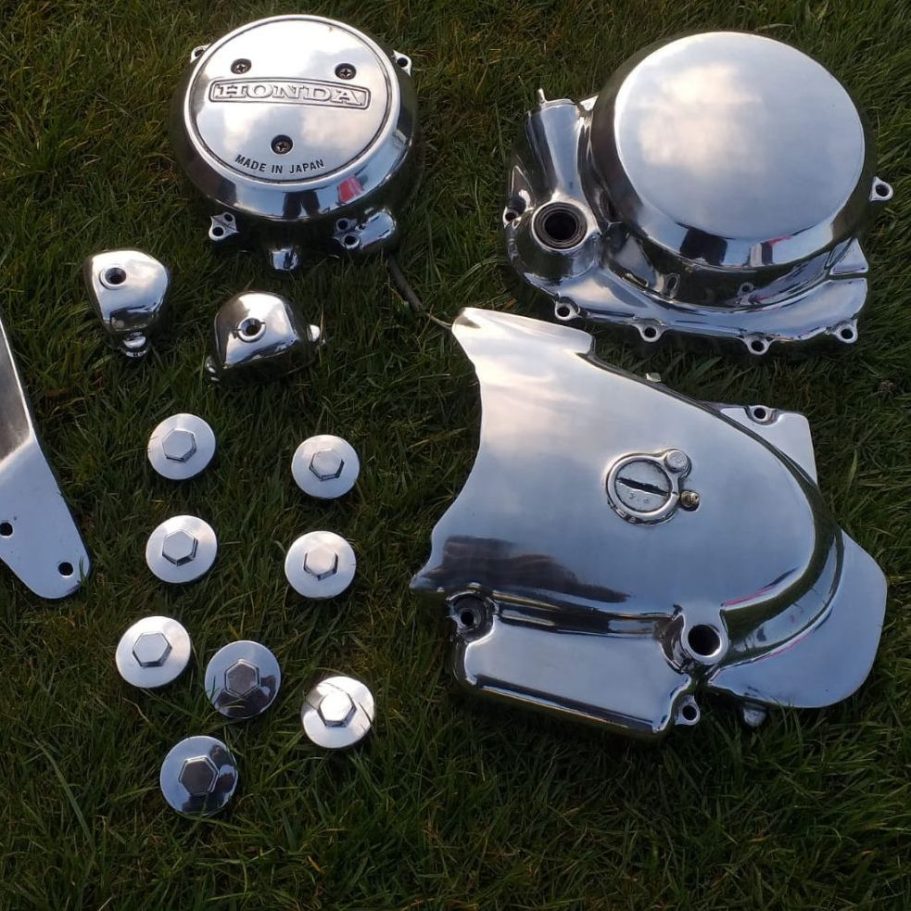
Made from the best quality materials we alsways polished them "back in the day" and look at these, nothing has changed!
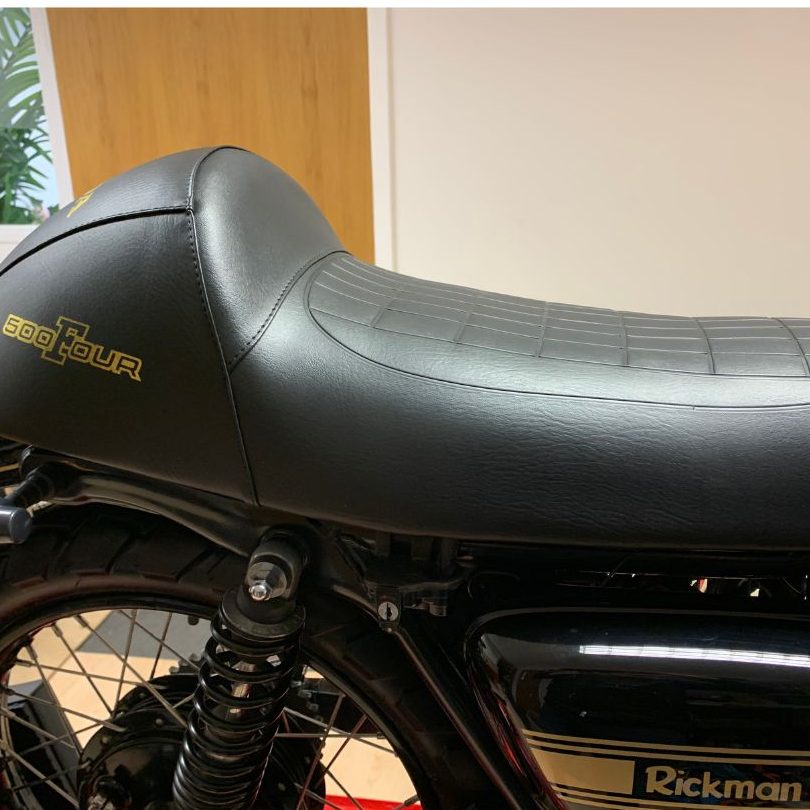
This seat is a Giuilari and is excellent quality, now it is recovered it is quite the find!!
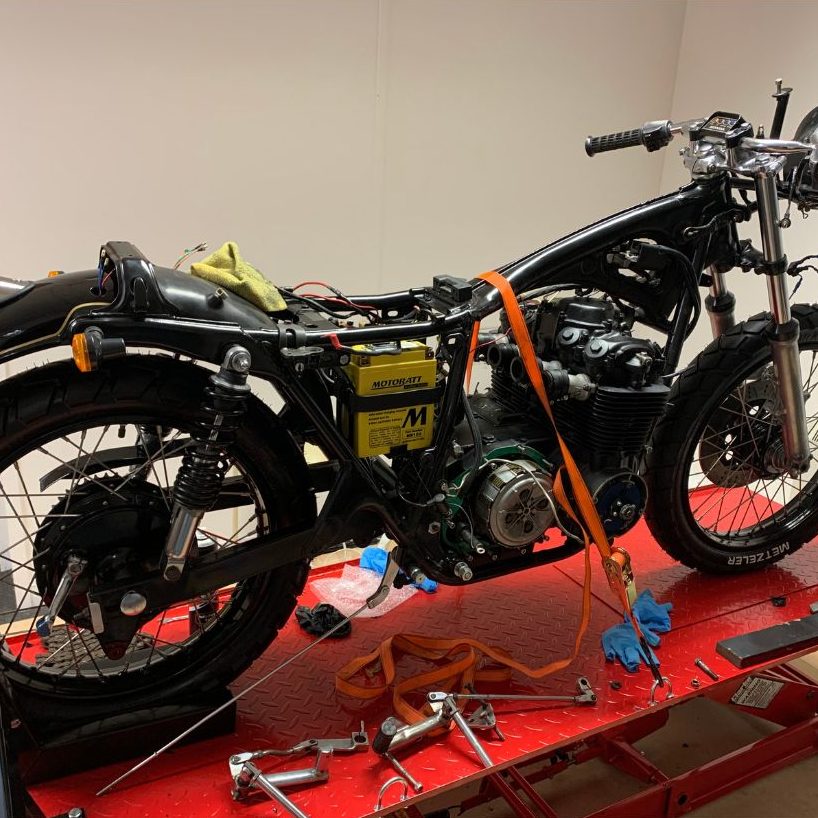
We get stuck into this project, note the black wheels, a lovely touch.
Our cafe racer maybe on hold but she is certainly starting to look
the part!
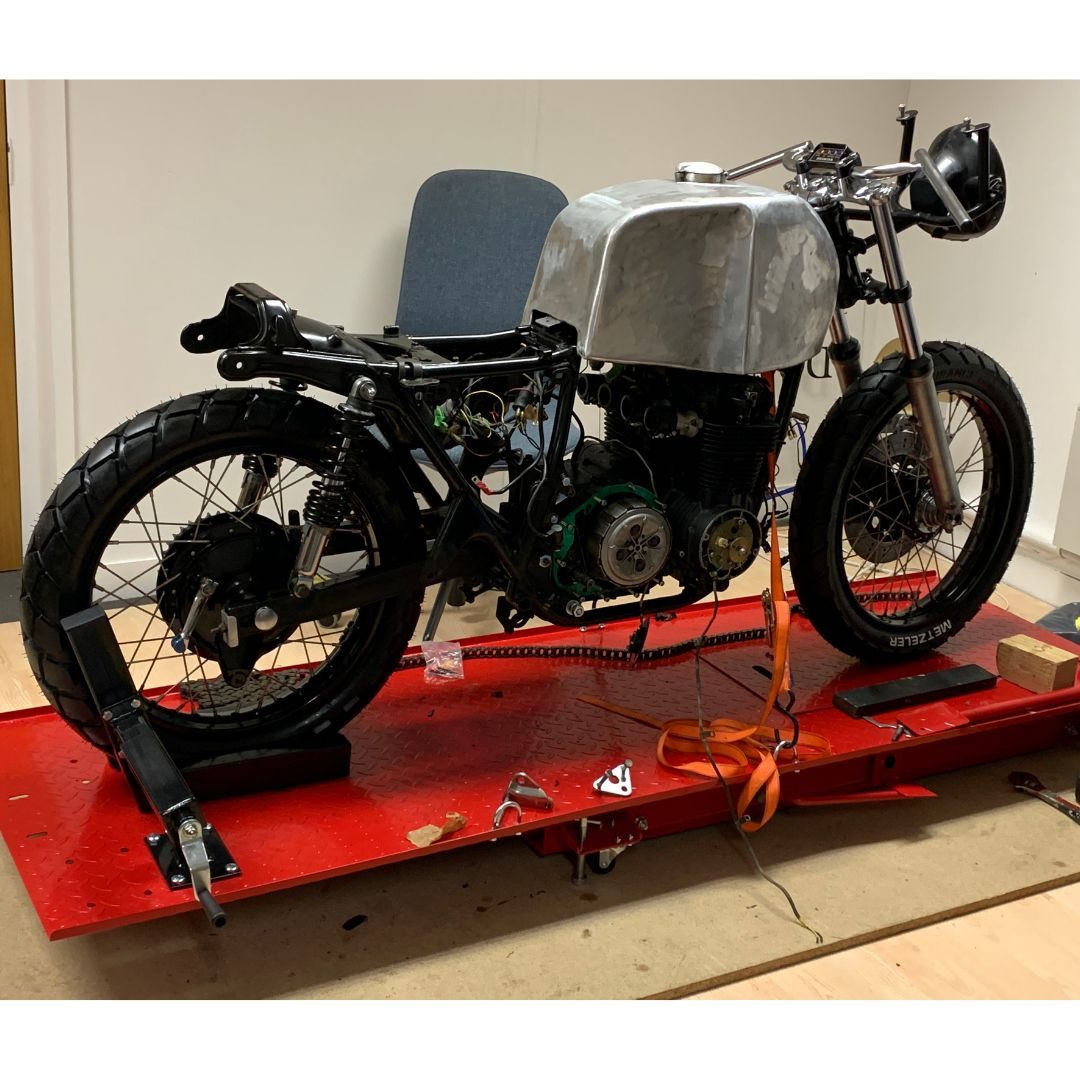
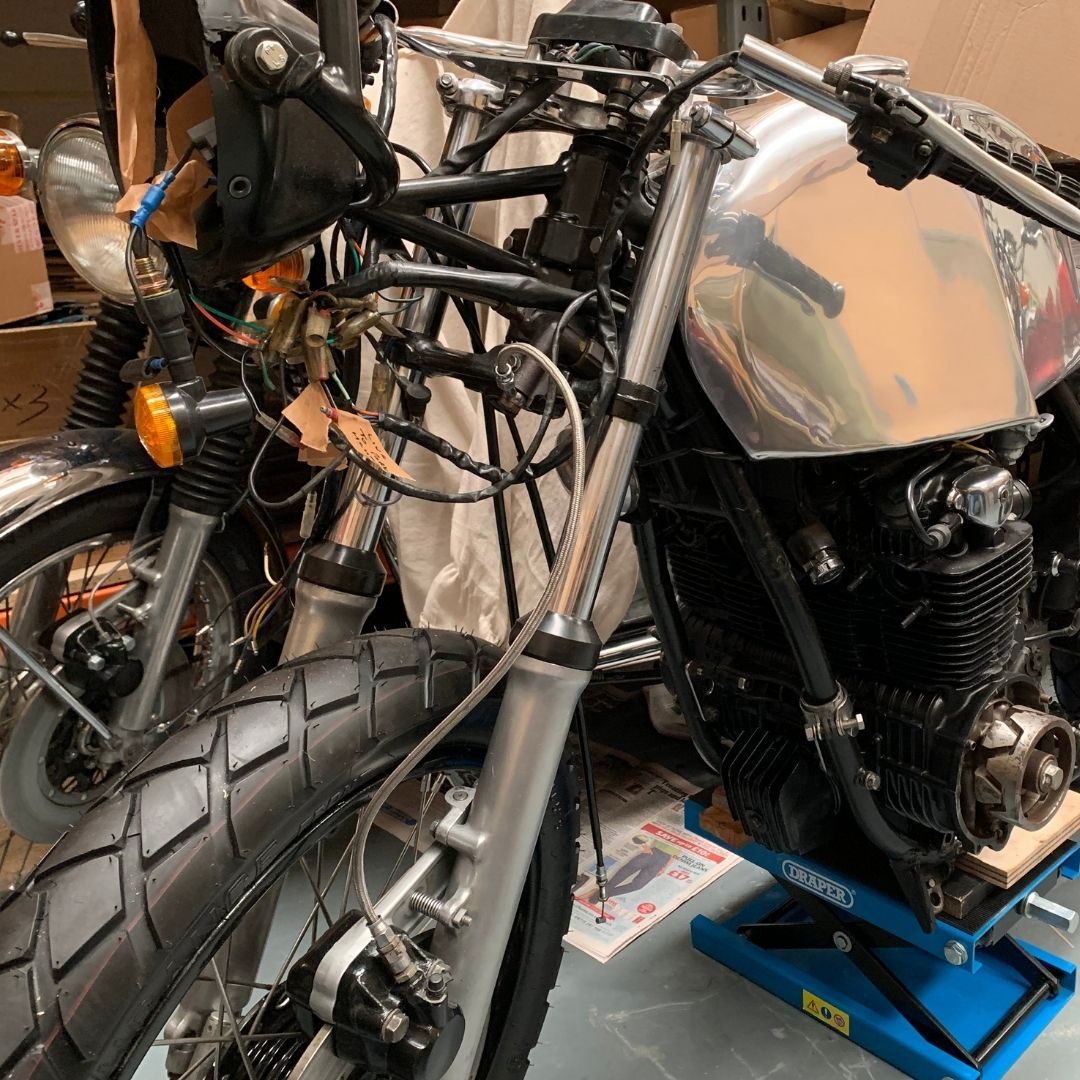
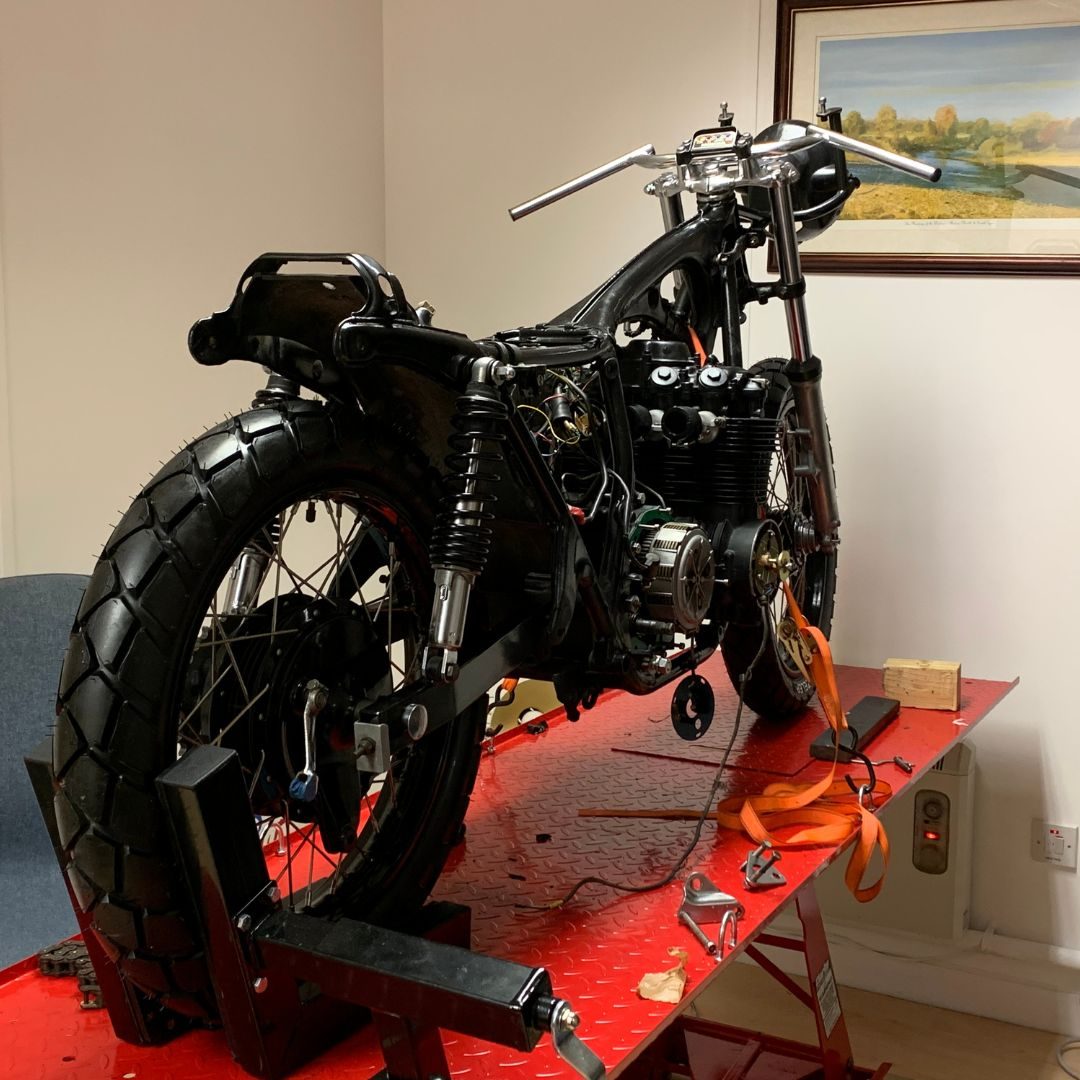
We all love a cafe racer, right? Well this one was bought a while ago and has had lots of shiny bits added and a new all black engine, the results are starting to be very exciting. We have a lot to do yet, the dunstall footrests are to be fitted, the casings are all polished now and ready, the exhaust needs bandaging, the electrics are beginning to come together so plenty on the "to do" list but we wouldn't have it any other way!
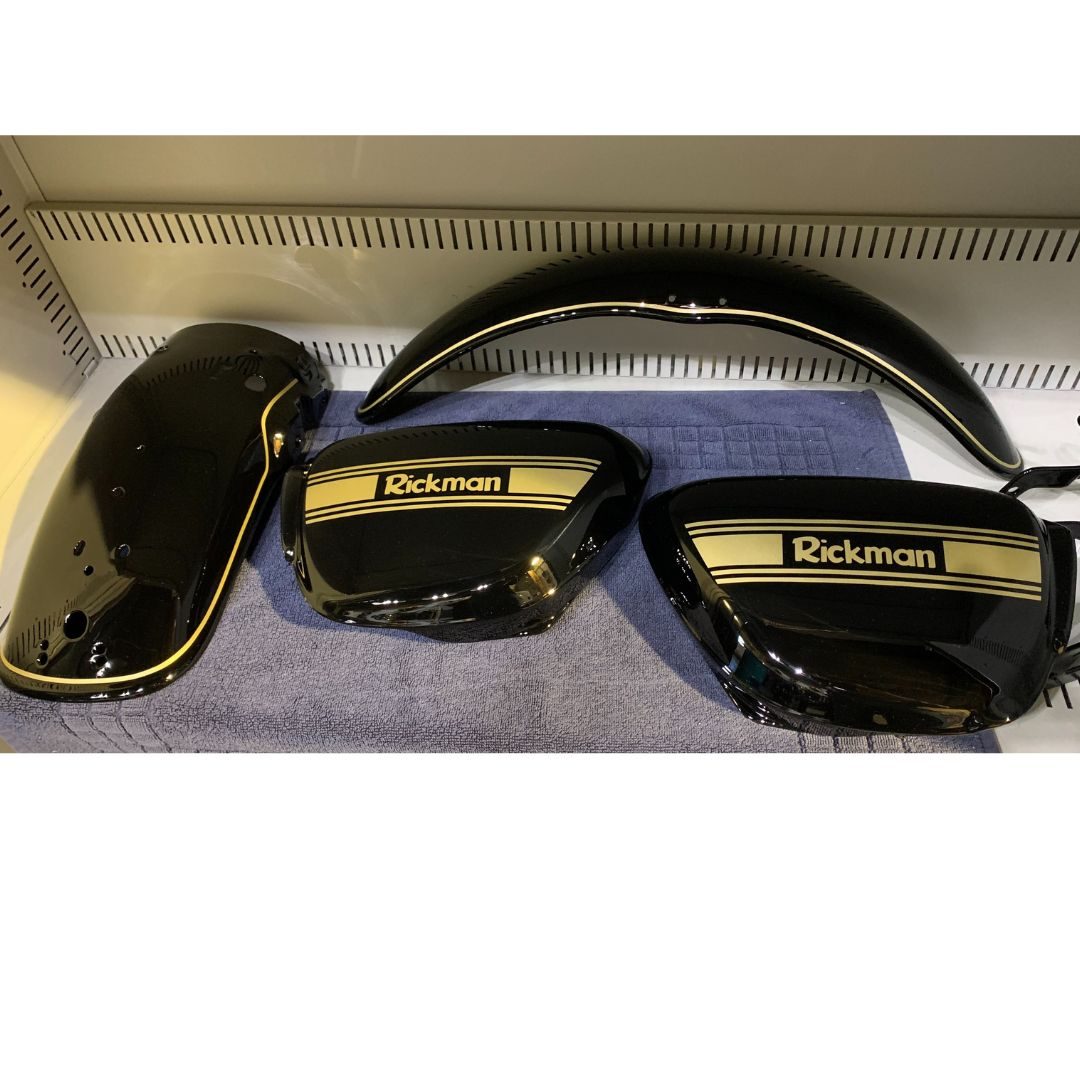
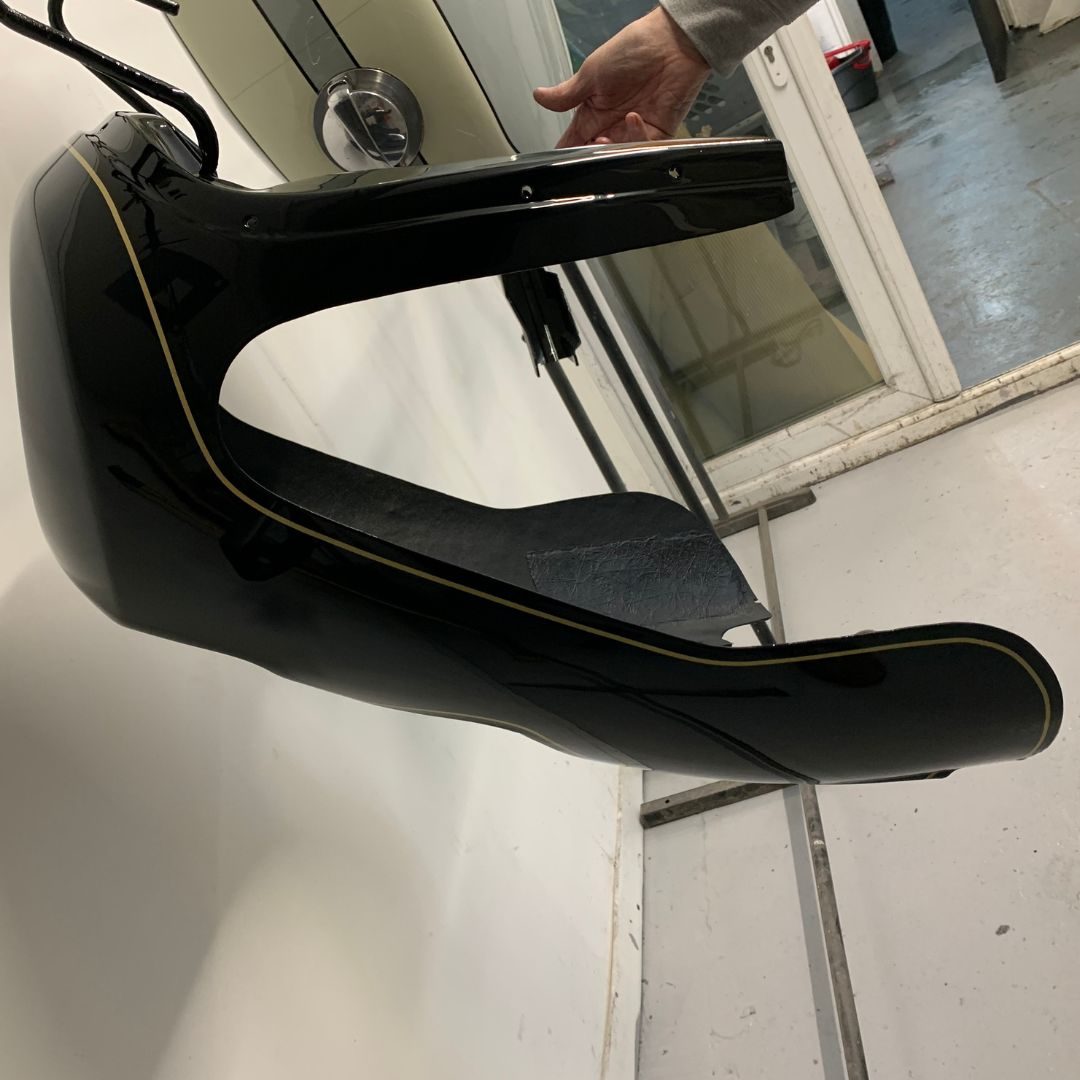
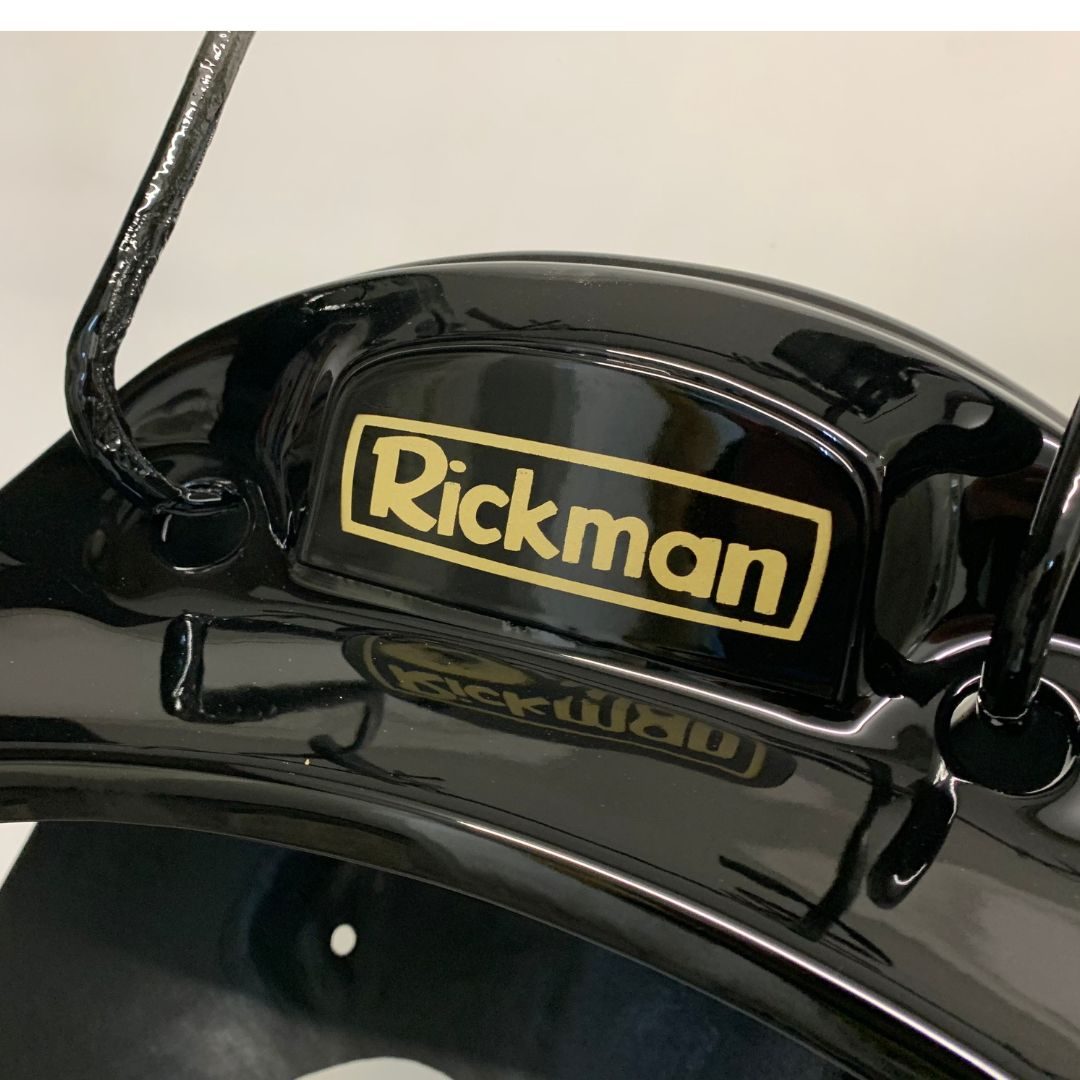
The paintwork for the now called "Rickman Honda CB500/4 Cafe Racer" arrives and we are delighted

More to follow ...
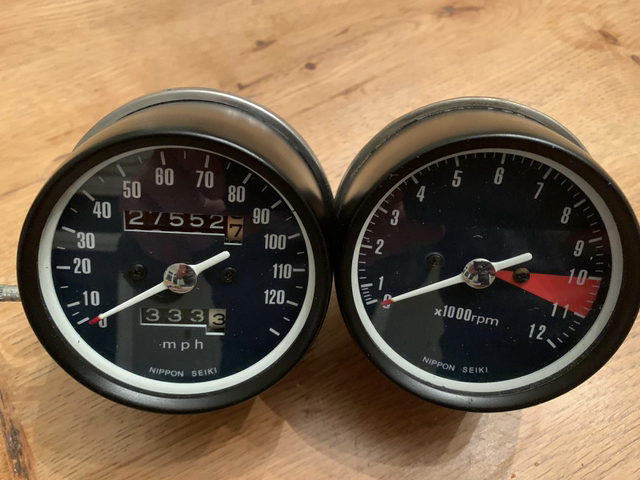
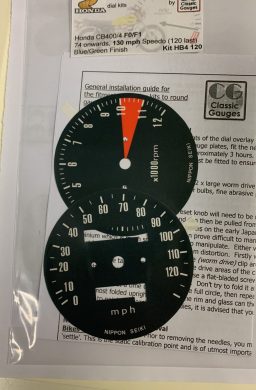
New Clocks CB400/4 F1
Restoration of a working set of clocks
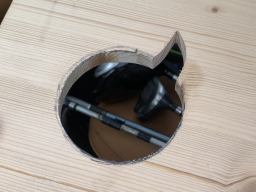
These are difficult to get open and indeed closed, we used a simple wooden jig that we knocked up in the workshop, see image, where the clock sat neatly into it, we used a soft cloth on the face to give some protection on the closing as it was freshly painted (not shown). You can see the clock fitted in both ways up to make things so much easier. One point we ended up putting a reinforcement in the centre underneath as the pressure we were putting on the clocks to hold them in place for resealing was quite a lot!
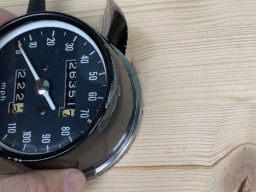
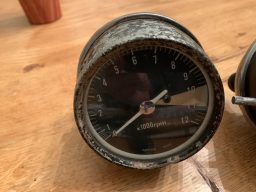
To see the transformation look at the old clock image, believe it or not that is the same one!
We acquired new faces for the clocks, see image, find a supplier with good feedback is good advise here.
A CB400/4 showing it's feminine side, really!
Difficulty rating 4/10
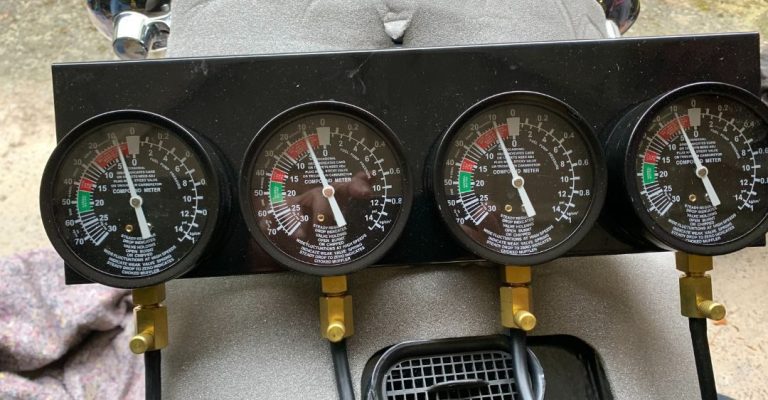
Vanquish get's her Carb Balanced
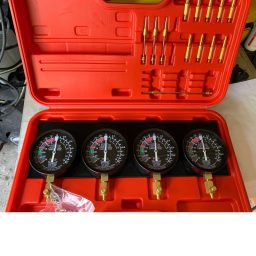
Tools required 4 Cylinder Sync Gauges Kit for Carburetor Carb Balancer, Includes Vacuum Gauges, Hoses, Extensions, Adapters
Carbs are really not as bad as you may fear, the basics of balancing them is not so much to set them at a certain level, rather than get them all even, we found when we watched videos on the subject it was easy to get tied up with aiming at a certain vacuum setting, this ended up not to be as critical as an even set for all four.
To balance the carbs ensure this is one of the final jobs you do, the bike should be fully set up, all the timing etc done in advance. Then you can start. Begin by setting up a petrol source that allows you to remove the tank, you need access to the top of the carbs, then set your carb balancing set up by taking out the small screws in the inlet manifold, insert the adapters fixed to your tubes in the screw openings and attach the dials. Make sure you are working in the open air, start up the bike and set the tick over to about 2500 - 3000RPM, this will show the dials bouncing a bit, on some models use the grub screw in each dial to settle the needle.
The air intakes are positioned on the top of the carburetors, these need to have the 8mm locking bolt loosened off, then using a small flat headed screwdriver gently adjust the inner screw to set the needles on your dial equally. You will feel the engine changing for the better or worse as you adjust this so use your ears also. Once these are all reading the same settings you should see the engine running more smoothly, a blip of the throttle will be quick and responsive, then lock up the locking bolts and your there. It is important to make sure you are running at the right mixture or you may have overheating problems, to do this make sure your fuel inlets are all set as the manual states, here we used 2 turns out, when balancing the carbs if you struggle to start the engine and your getting a good spark use the fuel inlets to open the amount of fuel until you get it right but one and half to two turns out was right for us.
Once you take off the equipment remember to reinsert the small screws to lock off the inlet manifold, back on with the tank and your done.
As always this is only the way we have done the job, please read your manual to get the correct way for your specific bike, if you are in doubt don't do it, get in touch with your local garage.